

 Search
 русский
 Español
 عربى
عربى
-
Structural Assessment of Substrate: Conduct a thorough structural evaluation to ensure the substrate can support the weight and mechanical demands of Abrasion-Resistant Tiles. Assess for cracks, deflection, or any potential movement, as even minor substrate flexing can induce stress on the tile and lead to micro-fractures, edge chipping, or delamination over time. For concrete slabs, verify compliance with industry deflection standards (L/360 or lower for high-traffic areas). For elevated floors or layered substrates, check load-bearing capacity and vibration tolerance to avoid premature failure in high-use areas.
-
Surface Cleaning and Debris Removal: Remove all loose particles, dust, dirt, oil, grease, curing compounds, paint, or coatings that could inhibit adhesion. Use mechanical cleaning methods like grinding, shot-blasting, or diamond abrasion to achieve a clean, roughened surface profile that promotes strong mechanical bonding. Proper substrate cleaning ensures full thinset coverage, eliminates voids, and prevents tile movement under heavy foot or rolling loads, thereby preserving the abrasion-resistant surface.
-
Moisture Testing and Control: Measure substrate moisture content using appropriate methods such as calcium chloride tests, relative humidity probes, or moisture meters. Excessive moisture can weaken polymer-modified adhesives, cause efflorescence, and reduce bond strength. Only substrates that meet the manufacturer’s recommended moisture levels should be tiled. Implement moisture mitigation measures, such as vapor barriers or damp-proof membranes, in high-humidity or slab-on-grade installations to prevent long-term degradation of the tile bond and surface durability.
-
Crack Isolation and Movement Joints: Install crack-isolation membranes or uncoupling layers over substrates with pre-existing cracks, shrinkage tendencies, or potential movement. Properly spaced expansion and control joints accommodate thermal expansion, contraction, and substrate movement, preventing concentrated stress that can cause cracking, delamination, or edge chipping. Follow tile manufacturer and industry guidelines for joint placement in both interior and exterior applications, with additional consideration for large-format tiles or industrial-grade traffic.
-
Leveling and Flattening: Correct uneven substrates using self-leveling compounds when deviations exceed recommended tolerances (typically ±2–3 mm over a 1-meter span). A flat, uniform substrate ensures full adhesive coverage, distributes load evenly, prevents point loading, and minimizes the risk of edge chipping or micro-fracturing. Uneven or undulating substrates concentrate stress on tile edges and corners, reducing the effective abrasion resistance and long-term performance.
-
Selection of Appropriate Adhesive: Use high-performance, polymer-modified thinset mortars specifically rated for heavy-duty, abrasion-resistant tile installations. Adhesives must be compatible with the substrate, tile thickness, and traffic conditions. Proper adhesive selection ensures full mechanical bond, prevents hollow spots, and enables effective transfer of dynamic loads across the tile surface. For industrial or wet areas, select adhesives with high water resistance and extended open time to accommodate precise placement.
-
Full-Bed Adhesive Application and Back-Buttering: Achieve full mortar coverage beneath each tile, especially for large-format or thick Abrasion-Resistant Tiles. Back-buttering—applying thinset to the tile’s backside—eliminates voids and ensures uniform contact between tile and substrate. Voids can act as stress points that reduce the tile’s ability to resist abrasion, cause edge chipping under rolling loads, and accelerate grout joint wear. Full-bed adhesion is essential to maintain long-term mechanical performance in both residential and commercial high-traffic environments.
-
Proper Notched Trowel Technique: Select the correct notched trowel size to achieve uniform adhesive thickness and full tile coverage. Inconsistent trowel application creates hollow spots, reduces load distribution, and undermines the abrasion resistance of the tiles. Maintain consistent trowel angle, pressure, and motion to ensure uniform mortar ridges and complete coverage under the entire tile, particularly critical for heavy traffic zones or industrial flooring.
-
Tile Layout, Spacing, and Joint Planning: Plan tile layout meticulously to minimize cuts in high-stress areas and distribute joints evenly. Proper joint alignment reduces stress concentrations on individual tiles, prevents corner chipping, and supports even load distribution across the floor. Follow manufacturer-recommended joint widths and consider integrating wider joints in areas subject to rolling loads or thermal expansion. Layout planning should also account for aesthetic continuity, pattern matching, and alignment across long runs or multi-room installations.
-
Grouting Considerations: Select high-performance, abrasion-resistant grout compatible with Abrasion-Resistant Tiles and intended traffic conditions. Fully fill and compact joints to prevent gaps that can trap debris, moisture, or abrasive particles. For industrial or wet environments, consider epoxy or polymer-modified grouts, which offer superior resistance to abrasion, chemical exposure, and moisture penetration. Proper grouting maintains the structural integrity of the tiled surface and ensures that load is evenly transferred across the floor.
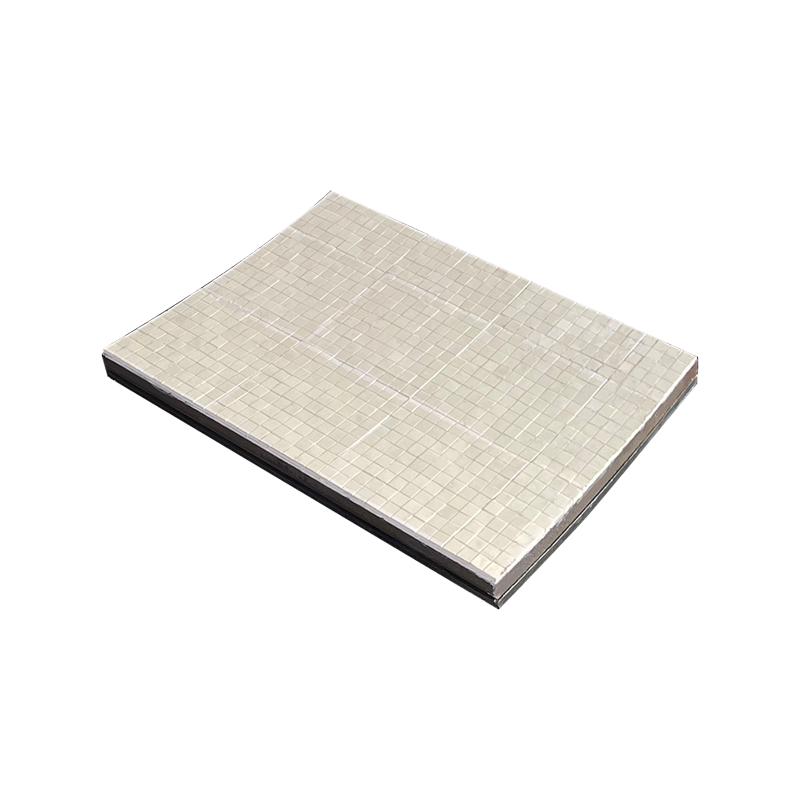
The Ultimate Guide to Wear-Resistant Alloy Linings: Choosing the Right Material for Your Application
Introduction to Wear-Resistant Alloy Linings What are Wear-Resistant Alloy Linings? Wear-resistant alloy linings are engineered protective layers made from spec...
READ MORE